»
Showing posts with label homemade gifts. Show all posts

Monday, June 30, 2014

Slimy Putty

A very creative friend  gave Andrew the instructions and supplies to make homemade "slime" as a birthday gift. 
He had a blast making it, and even more fun playing with it.


 It even bounces!
Instructions for slime:

In 1st bowl  mix:
2 cups school glue
1/2 cup lukewarm water
liquid  food coloring

In 2nd bowl mix:
2 Tablespoons borax
1/2 cup HOT water
Stir until borax is completely dissolved or it wont work.

Add contents of bowl #2 into bowl #1, and mix until goopy. 

Store in a ziplock bag in the fridge. Always wash your hands before and after playing with Slime. It will eventually dry out or get moldy. Throw away and make a new batch.

Saturday, November 30, 2013

Thursday, November 21, 2013

Photo Note Cards

A friend encouraged me to print some of my photos and put them on blank card stock to sell as part of my Gospel For Asia fundraiser
A few years back they had sold well for me, so I made a few more.
And since I cant keep enough homemade cards around to mail out to brighten someone's day, the extras will be easy for me to use up.


Friday, November 15, 2013

Recent Crafts


 I have been doing some crafting lately. I have been selling many items to raise money for Gospel For Asia's Christmas Catalog.
For the first time ever, I found pretty teacups at our local thrift store, and I loved how these turned out.

 Because I use natural soy way, the cups can be tossed in the dishwasher and used for drinking once the candle is used up.


 I also have started making bath salts with a mix of Epsom salts and Himalayan pink salt. I use the same scent as I did with my Himalayan salt soap.  I use Epsom salt in baths regularly, so it's been nice to dress them up.


Homemade Candles

I love pure white soy candles in mason jars, but they are so expensive!
So I made my own!
 I love them! I know exactly what is in them, they  are made with natural ingredients, burn clean and smell delicious! Plus they were so much fun to make!

Find out how I make them HERE

Monday, September 30, 2013

Gift Wrapping


 I love making things beautiful. It's just part of how the Lord made me. The gifts that I give are no different.  Sure, the gift itself is great, but how much more cherished do the recipients feel, knowing I also decorated the package just for them? 
 
homemade candles  

I make homemade cards already, so I always have scrapbook paper on hand.

For my homemade soap, I started wrapping the whole bar like a gift in scrapbook paper.
I was going through a lot of paper, and the soap was hard to stack once it was wrapped, so  I tried just cutting a strip of paper and wrapping a sleeve around the soap. This also turned out elegantly and I do that quite often now as well (the bar on the left).


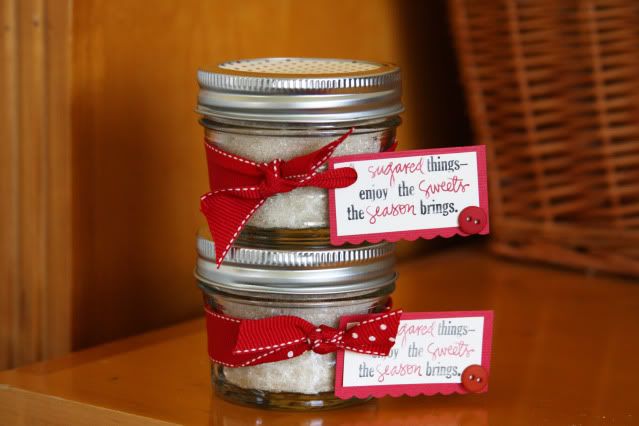
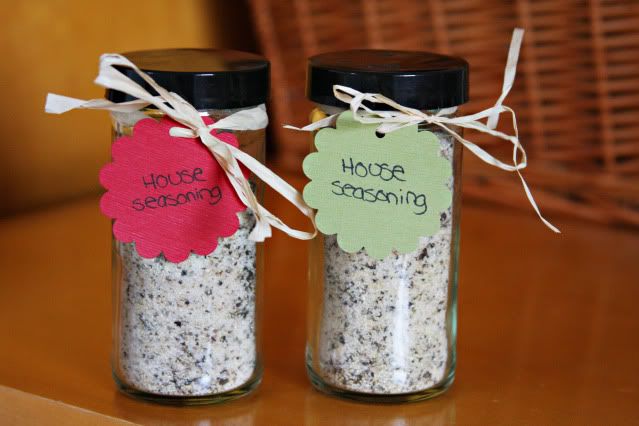
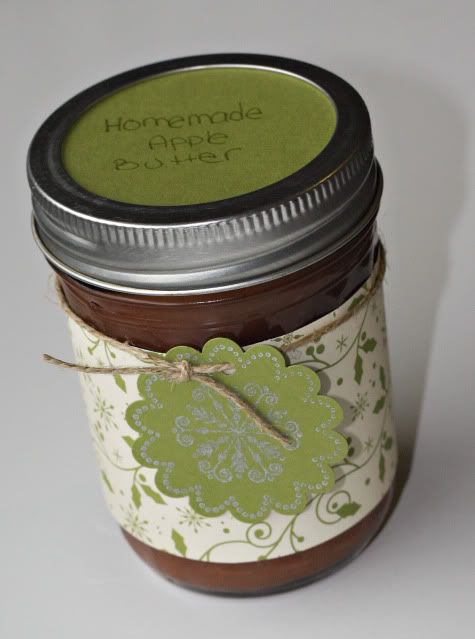
For homemade gifts in a jar just a pretty tag and some nice ribbon goes a long way! 


My go-to gift for little girls is a baking set. I just take inexpensive items  like store frosting and boxed cake mix, and whip out my trusty scrapbook paper and ribbon and dress it up. Little girls LOVE it, and they get to practice basic baking skills as well.


Even homemade playdough can be elegant when you dress up the packaging!

I have even taken empty Altoid tins, and clothespins and by using my trusty scrapbook paper, turned them into beautiful gifts!
I hope that this gives you a few ideas on how to inexpensively dress up your homemade gifts.

Monday, August 19, 2013

How I make Oatmeal Soap and Salt Soap

  
Oatmeal Soap:
1. Before starting sprinkle some whole rolled oats in your molds.

2.Blend 1 ounce of rolled oats into your blender. (You wont use it all) Have it close by as you make your soap.


3. Follow steps 1-3 here, using the goat milk base in step 1.


4. In step 4, I add 3 tablespoons of oatmeal, milk and honey fragrance oil.

5. Stir in about half your powdered oatmeal and stir. Keep stirring until it stays mostly suspended in the liquid.

6. Pour into your molds quickly because it sets up very fast once the oatmeal is in.

7. Then you can sprinkle a little more powdered oatmeal on the top if you'd like, and it hasn't started solidifying yet.

8. Spritz with alcohol to finish the soap and break up any bubbles on the top of the soap

9. Let sit for 3+ hours, then pop out of mold.


Salt Soap
1. Measure out 6-8 ounces of medium grain pink Himalayan sea salt.

Use the Shea base in step 1. 
I use 2 Tablespoons of apricot freesia fragrance oil in step 4.
3. Stir in the salt, and get it well coated in the soap liquid. The salt will sink to the bottom.

4.Take a tablespoon and scoop it back out of the mix and pour a layer into your molds.Probably about 2 tablespoons,or enough salt to cover the bottom of your mold.
You will have to work fairly quickly to get smooth soap, because it will start to thicken up on you.
 5. After you  have an even coat of salt in each mold, pour the melted soap over the salt.


6. Spray with rubbing alcohol to disperse bubbles.

Thursday, August 15, 2013

How I Make Basic Soap


 I posted about my new soap making hobby, and a few people asked for a  tutorial, so here it is.
Like I mentioned, my husband did not want lye in the house, so melt and pour was the perfect compromise. It really is super easy!
1. Start with 1 lb of  base from Brambleberry . (I have been super happy with both Shea and Goat's Milk).

2. Cut it into 1 inch cubes, then put them into a 2 cup Pyrex measuring cup.
3. Microwave for 30 seconds. Stir and microwave again for 30 more seconds. Stir again and then microwave for 30 more seconds.Stir again. At this point it is completely creamy for me. If it isn't for you, try another 30 seconds.

4. Pour in your fragrance oil. I use 2 tablespoons for most soaps. 
Stir well until completely incorporated.

5. Then pour into your molds. You can use any plastic container (it must be plastic, you wont be able to get it out of a rigid form like glass).
Pour quickly because it sets up fast.
6. Spritz with rubbing alcohol to finish the soap and break up any bubbles on the top of the soap
 Let sit for 3+ hours, then pop out of mold. 


Related Posts with Thumbnails